
This article is a step-by-step tutorial to start with PHP, install Laravel, Apache and MySQL in the Linux environment (Fedora).
Laravel is one of the open source frameworks easier to implement and assimilate for PHP. His philosophy is to develop PHP code in an elegant and simple way based on a model MVC (Model-View-Controller). It has a modular and extensible code through a package manager and robust support for database management. It was created in 2011 and has a great influence of frameworks such as Ruby on Rails, Sinatra and ASP.NET MVC.
Let’s go!
As expected from any version of Linux, the first thing to do is to update the system, for this execute in the terminal:
sudo dnf update -y
Install Apache
The Apache HTTP server is an open source HTTP web server. It is actively maintained by the Apache Software Foundation. Apache is used mainly to perform service to web pages, whether static or dynamic.
In the terminal execute the following command to install the necessary package:
sudo dnf install httpd -y
The web server package, httpd, depends on some other packages. They must be installed for the web server to work. The previous command installs those dependencies. As we are interested in only using the server on a local development machine, you do not need to configure the firewall. If you want to configure the server so that other machines can access it, I recommend reading this article.
After having finished, proceed to validate the correct installation, execute the command:
sudo systemctl start httpd
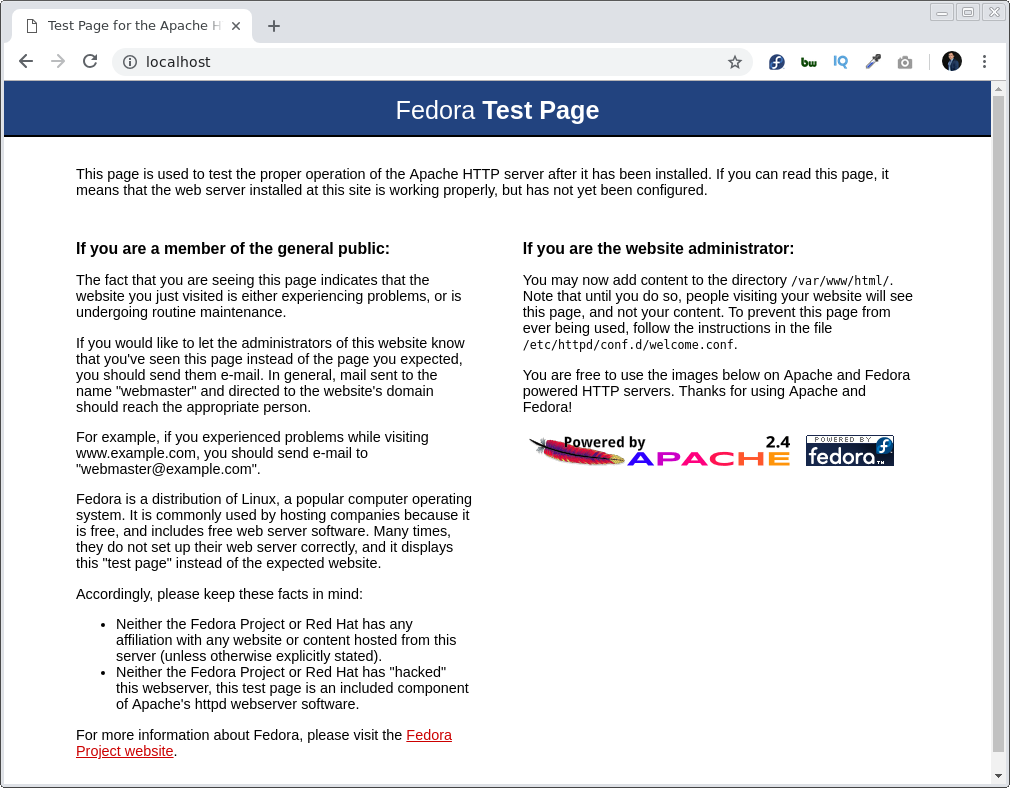
After executing the previous command, the Apache web server should have started, validate it by placing in the browser
http://localhost or http://127.0.0.1/
You must load the following page and it will be indicative that the installation was successful:
Install MySQL
MySQL is a relational database management system developed under a dual license: General Public License/Commercial License by Oracle Corporation and is considered the most popular open source database in the world.
The Community Server version 5.7.25 will be installed, write in the terminal:
sudo dnf --disablerepo=mysql80-community --enablerepo=mysql57-community install mysql-community-server
Once the installation is finished, the MySQL database server will be start by typing in the terminal:
sudo systemctl start mysqld
Get the dynamic root password generated in the installation, type the following command in the terminal:
grep 'A temporary password is generated for root@localhost' /var/log/mysqld.log |tail -1
An output will be get in the console like the following:
“A temporary password is generated for root@localhost: s/jh+GaRo5+U”
Te value s/jh+GaRo5+U it would be the generated password.
The Secure Installation of MySQL continues, where it will be done:
- Change root password.
- Remove anonymous users.
- Disallow root login remotely.
- Remove test database and access to it.
- Reload privilege tables.
Write in the command line:
/usr/bin/mysql_secure_installation
You will get step by step in the terminal an exit like the following, the first thing that must be entered is the password obtained previously:
Securing the MySQL server deployment.

Enter password for user root:

The existing password for the user account root has expired. Please set a new password.

New password:

Re-enter new password:

VALIDATE PASSWORD PLUGIN can be used to test passwords
and improve security. It checks the strength of password
and allows the users to set only those passwords which are
secure enough. Would you like to setup VALIDATE PASSWORD plugin?

Press y|Y for Yes, any other key for No: y

There are three levels of password validation policy:

LOW    Length >= 8
MEDIUM Length >= 8, numeric, mixed case, and special characters
STRONG Length >= 8, numeric, mixed case, special characters and dictionary                  file

Please enter 0 = LOW, 1 = MEDIUM and 2 = STRONG: 0
Using existing password for root.

Estimated strength of the password: 100
Change the password for root ? ((Press y|Y for Yes, any other key for No) : y

New password:

Re-enter new password:

Estimated strength of the password: 50
Do you wish to continue with the password provided?(Press y|Y for Yes, any other key for No) : y
By default, a MySQL installation has an anonymous user,
allowing anyone to log into MySQL without having to have
a user account created for them. This is intended only for
testing, and to make the installation go a bit smoother.
You should remove them before moving into a production
environment.

Remove anonymous users? (Press y|Y for Yes, any other key for No) : y
Success.


Normally, root should only be allowed to connect from
'localhost'. This ensures that someone cannot guess at
the root password from the network.

Disallow root login remotely? (Press y|Y for Yes, any other key for No) : y
Success.

By default, MySQL comes with a database named 'test' that
anyone can access. This is also intended only for testing,
and should be removed before moving into a production
environment.


Remove test database and access to it? (Press y|Y for Yes, any other key for No) : y
 - Dropping test database...
Success.

 - Removing privileges on test database...
Success.

Reloading the privilege tables will ensure that all changes
made so far will take effect immediately.

Reload privilege tables now? (Press y|Y for Yes, any other key for No) : y
Success.

All done!
You can read more about how to improve the security of the MySQL installation.
Note: If you don’t want some reason, do a “MySQL Secure Installation” then at least it’s very important to change the root user’s password
Install PHP
PHP is a general-purpose interpreted programming language of server-side code originally designed for web development of dynamic content. It was one of the first server-side programming languages that could be incorporated directly into an HTML document instead of calling an external file that processes the data.
Write in the command line:
sudo dnf install php php-common php-cli php-pdo php-mbstring php-zip php-xml php-openssl php-tokenizer php-ctype php-json
All dependencies previously installed next to the php are necessary and mandatory. If any of the dependencies is not installed correctly, install it as follows:
sudo dnf install php-dependency-name
Write the following command in the terminal to restart the Apache server::
sudo systemctl restart httpd
Install Laravel
First, Composer must be installed.
What is Composer ?, is a dependency manager for PHP that allows us to download packages from a repository to add it to our project. By default, they are added to a folder called /vendor. In this way we avoid doing the searches manually, Composer is able to install the libraries that your project requires with the versions that you need.
Run the following in the terminal:
curl -sS https://getcomposer.org/installer | php
sudo mv composer.phar /usr/local/bin/composer
chmod +x /usr/local/bin/composer
composer -V
Once installed Composer run in the command line:
composer global require "laravel/installer"
echo 'export PATH="$PATH:$HOME/.config/composer/vendor/bin"' >> ~/.bashrc
To validate the installation, type in the command line:
laravel --version
To be even more sure of the correct installation of Composer and Laravel, create a new project:
laravel new blog
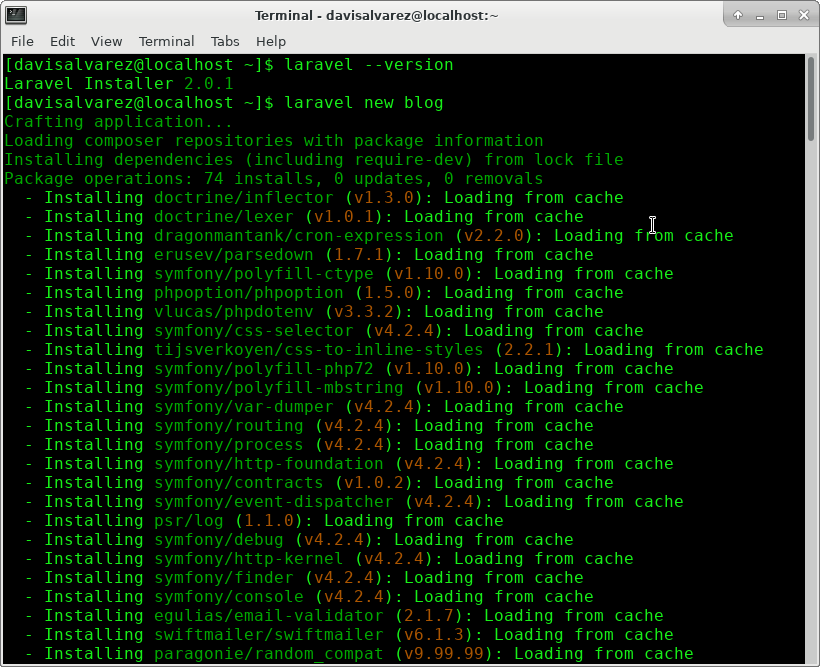
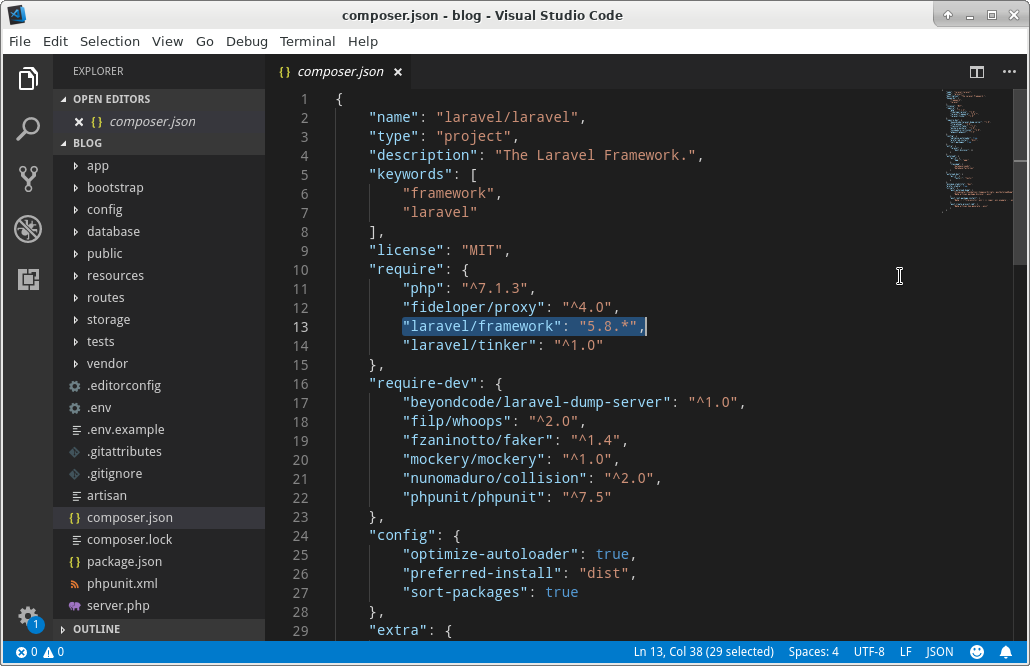
The previous command will create a new project with all the necessary files to start the development.
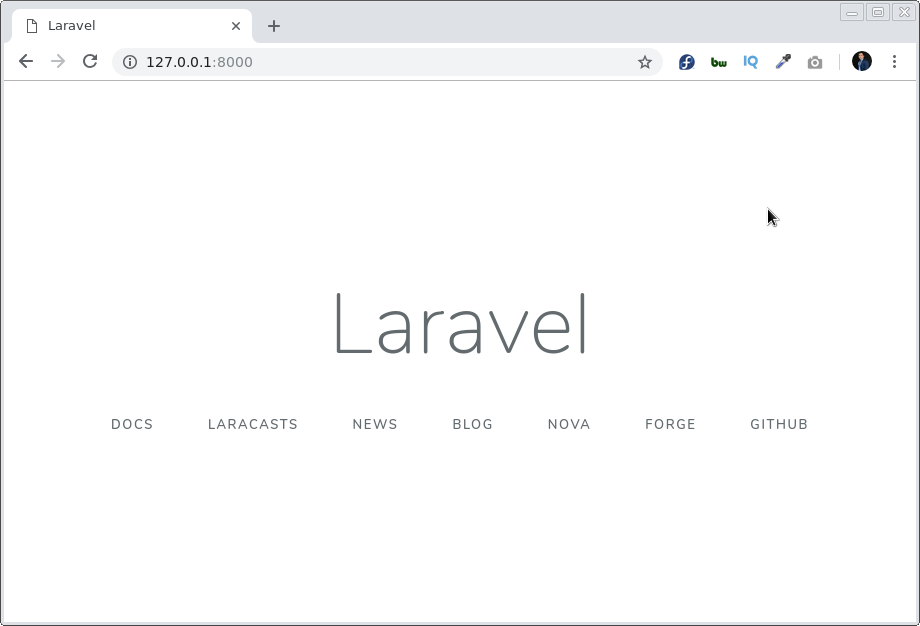
To run an application with the server that is included in Laravel you can do it easily and quickly with:
cd blog
php artisan serve
The terminal will show:
Laravel development server started on http://127.0.0.1:8000/
Everything is already configured to start having fun, in the next article “Create your First Application with Laravel“, I will detail the development of an application implementing the CRUD (create, read, update, delete).
What do you think?