
Este artículo es un tutorial paso a paso para iniciar con PHP, instalar Laravel, Apache y MySQL en el entorno Linux (Fedora).
Laravel es uno de los frameworks de código abierto más fáciles de implementar y asimilar para PHP. Su filosofía es desarrollar código PHP de forma elegante y simple basado en un modelo MVC(Modelo-Vista-Controlador). Cuenta con un código modular y extensible por medio de un administrador de paquetes y un soporte robusto para el manejo de bases de datos. Fue creado en 2011 y tiene una gran influencia de frameworks como Ruby on Rails, Sinatra y ASP.NET MVC .
Iniciamos
Como se espera de cualquier versión de Linux lo primero que se debe hacer es actualizar el sistema, para ello ejecutamos:
sudo dnf update -y
Instalar Apache
El servidor HTTP Apache es un servidor web HTTP de código abierto. Es activamente mantenido por Apache Software Foundation. Apache es utilizado principalmente, para realizar servicio a páginas web, ya sean estáticas o dinámicas.
En la terminal ejecutamos lo siguiente para instalar el paquete necesario:
sudo dnf install httpd -y
El paquete del servidor web, httpd, depende de algunos otros paquetes. Deben estar instalados para que el servidor web funcione. El comando anterior instala esas dependencias. Como estamos interesados en solo utilizar el servidor en una máquina local de desarrollo no se necesita tener que configurar el firewall. Si deseas configurar el servidor para que desde otras máquinas se acceda a el, te recomiendo leer este artículo.
Luego de haber terminado se procede a validar la correcta instalación, ejecutar el comando:
sudo systemctl start httpd
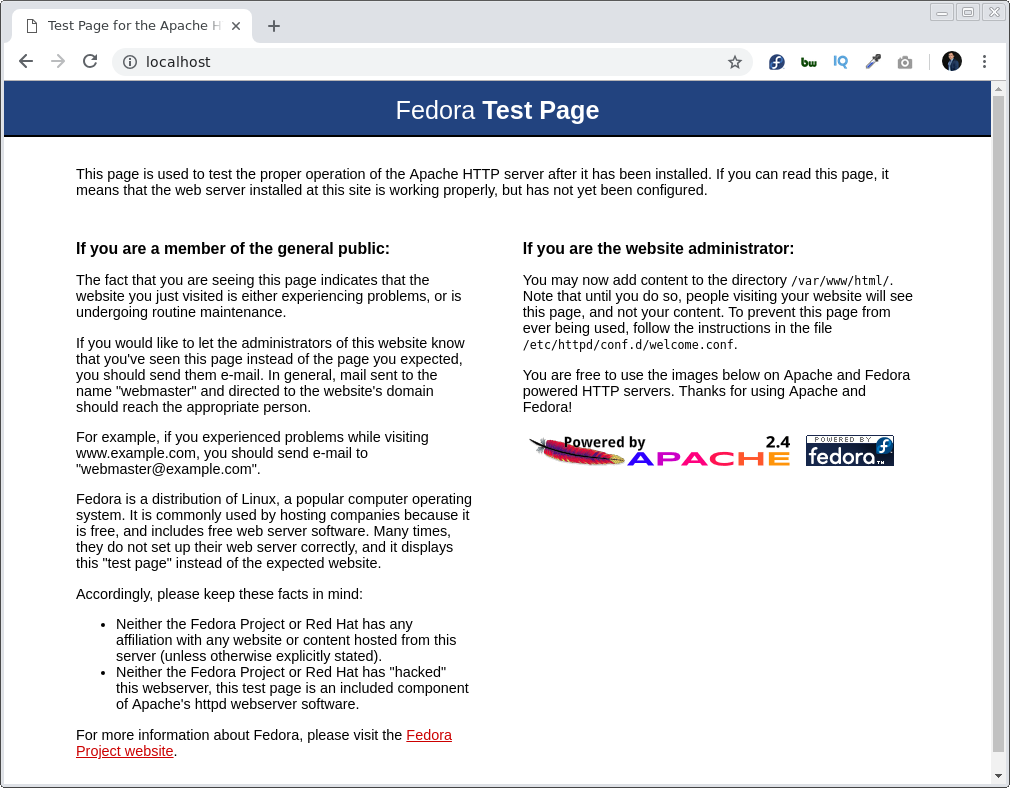
Después de ejecutar el comando anterior el servidor web Apache debió haber iniciado, validarlo colocando en el buscador http://localhost o http://127.0.0.1/.
Deberá cargar la siguiente página y será indicativo que la instalación fue exitosa:
Instarlar MySQL
MySQL es un sistema de gestión de bases de datos relacional desarrollado bajo licencia dual: Licencia pública general/Licencia comercial por Oracle Corporation y está considerada como la base datos de código abierto más popular del mundo.
Se instalará la versión Community Server 5.7.25 , escribir en la terminal:
sudo dnf --disablerepo=mysql80-community --enablerepo=mysql57-community install mysql-community-server
Una vez finalizada la instalación se levantara el servidor de base de datos MySQL escribiendo en la terminal:
sudo systemctl start mysqld
Obtener la contraseña root dinámica generada en la instalación, escribir el siguiente comando en la terminal:
grep 'A temporary password is generated for root@localhost' /var/log/mysqld.log |tail -1
Se obtendrá una salida en la consola como la siguiente:
“A temporary password is generated for root@localhost: s/jh+GaRo5+U”
El valor s/jh+GaRo5+U sería la contraseña generada.
Se continua con la Instalación Segura de MySQL, donde se hará:
- Cambio de la contraseña root generada.
- Remover usuarios anónimos.
- Desabilitar conexión remota del usuario root.
- Remover base de datos creada por defecto test y el acceso a ella.
Escribir en la línea de comandos:
/usr/bin/mysql_secure_installation
Se ira obteniendo paso a paso en la terminal una salida como la siguiente, lo primero que se debe ingresar es la contraseña obtenida anteriormente:
Securing the MySQL server deployment.

Enter password for user root:

The existing password for the user account root has expired. Please set a new password.

New password:

Re-enter new password:

VALIDATE PASSWORD PLUGIN can be used to test passwords
and improve security. It checks the strength of password
and allows the users to set only those passwords which are
secure enough. Would you like to setup VALIDATE PASSWORD plugin?

Press y|Y for Yes, any other key for No: y

There are three levels of password validation policy:

LOW    Length >= 8
MEDIUM Length >= 8, numeric, mixed case, and special characters
STRONG Length >= 8, numeric, mixed case, special characters and dictionary                  file

Please enter 0 = LOW, 1 = MEDIUM and 2 = STRONG: 0
Using existing password for root.

Estimated strength of the password: 100
Change the password for root ? ((Press y|Y for Yes, any other key for No) : y

New password:

Re-enter new password:

Estimated strength of the password: 50
Do you wish to continue with the password provided?(Press y|Y for Yes, any other key for No) : y
By default, a MySQL installation has an anonymous user,
allowing anyone to log into MySQL without having to have
a user account created for them. This is intended only for
testing, and to make the installation go a bit smoother.
You should remove them before moving into a production
environment.

Remove anonymous users? (Press y|Y for Yes, any other key for No) : y
Success.


Normally, root should only be allowed to connect from
'localhost'. This ensures that someone cannot guess at
the root password from the network.

Disallow root login remotely? (Press y|Y for Yes, any other key for No) : y
Success.

By default, MySQL comes with a database named 'test' that
anyone can access. This is also intended only for testing,
and should be removed before moving into a production
environment.


Remove test database and access to it? (Press y|Y for Yes, any other key for No) : y
 - Dropping test database...
Success.

 - Removing privileges on test database...
Success.

Reloading the privilege tables will ensure that all changes
made so far will take effect immediately.

Reload privilege tables now? (Press y|Y for Yes, any other key for No) : y
Success.

All done!
Puede leer más sobre cómo mejorar la seguridad de la instalación de MySQL .
Nota: Si no quiere por alguna razón que se haga una "Instalación Segura de MySQL", al menos es muy importante cambiar la contraseña del usuario root.
Instalar PHP
PHP es un lenguaje de programación interpretado de propósito general de código del lado del servidor originalmente diseñado para el desarrollo web de contenido dinámico. Fue uno de los primeros lenguajes de programación del lado del servidor que se podían incorporar directamente en un documento HTML en lugar de llamar a un archivo externo que procese los datos.
Escribir en la línea de comando:
sudo dnf install php php-common php-cli php-pdo php-mbstring php-zip php-xml php-openssl php-tokenizer php-ctype php-json
Todas las dependencias instaladas anteriormente junto al php son necesarias y obligatorias. Si alguna de las dependencias no se instala correctamente, instalarla de la siguiente manera:
sudo dnf install php-nombre-de-la-extension
Escribir en la terminal el siguiente comando para reiniciar el servidor Apache:
sudo systemctl restart httpd
Instalar Laravel
Primero se debe instalar Composer.
¿Qué es Composer?, es un administrador de dependencias para PHP que nos permite descargar paquetes desde un repositorio para agregarlo a nuestro proyecto. Por defecto, se agregan a una carpeta llamada /vendor. De esta manera evitamos hacer las búsquedas manualmente,Composer es capaz de instalar las librerías que requiere tu proyecto con las versiones que necesiten.
Ejecutar en la terminal lo siguiente:
curl -sS https://getcomposer.org/installer | php
sudo mv composer.phar /usr/local/bin/composer
chmod +x /usr/local/bin/composer
composer -V
Una vez instalado Composer ejecutar en la línea de comandos:
composer global require "laravel/installer"
echo 'export PATH="$PATH:$HOME/.config/composer/vendor/bin"' >> ~/.bashrc
Para validar la instalación escriba en la línea de comandos:
laravel --version
Para estar aún más seguro de la correcta instalación de Composer y Laravel, creamos un nuevo proyecto:
laravel new blog
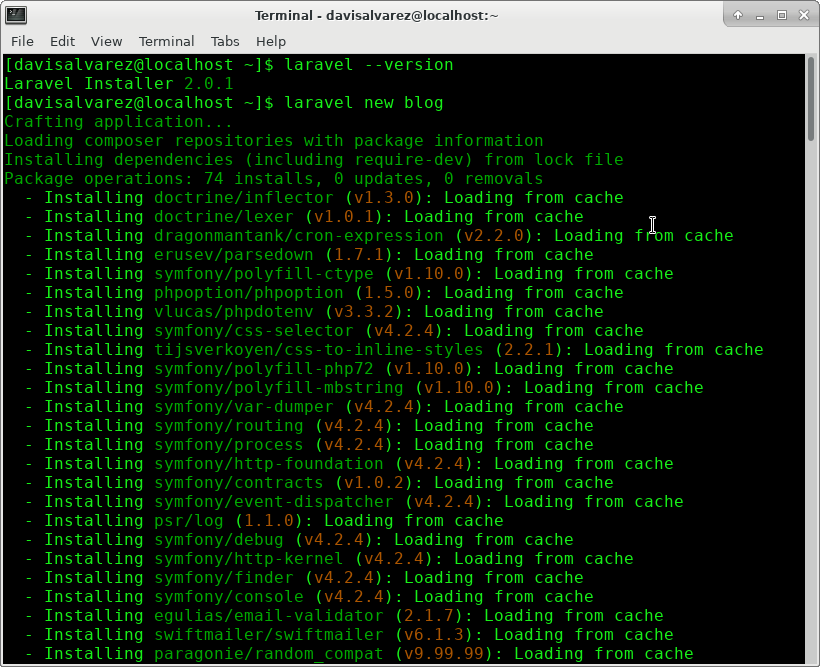
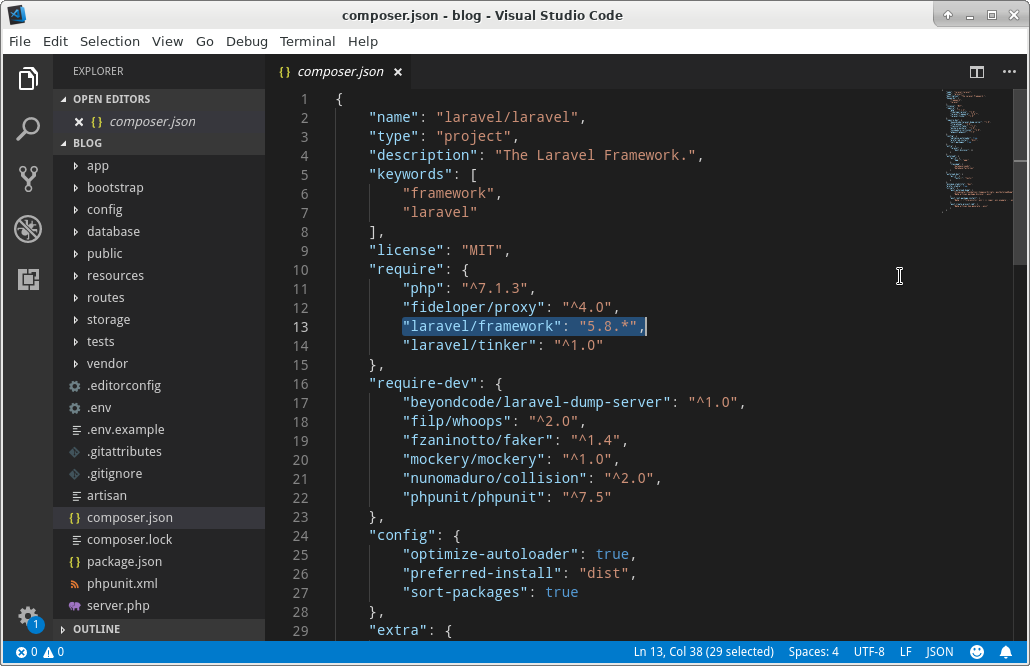
El comando anterior creara un nuevo proyecto con todos los archivos necesarios para iniciar el desarrollo.
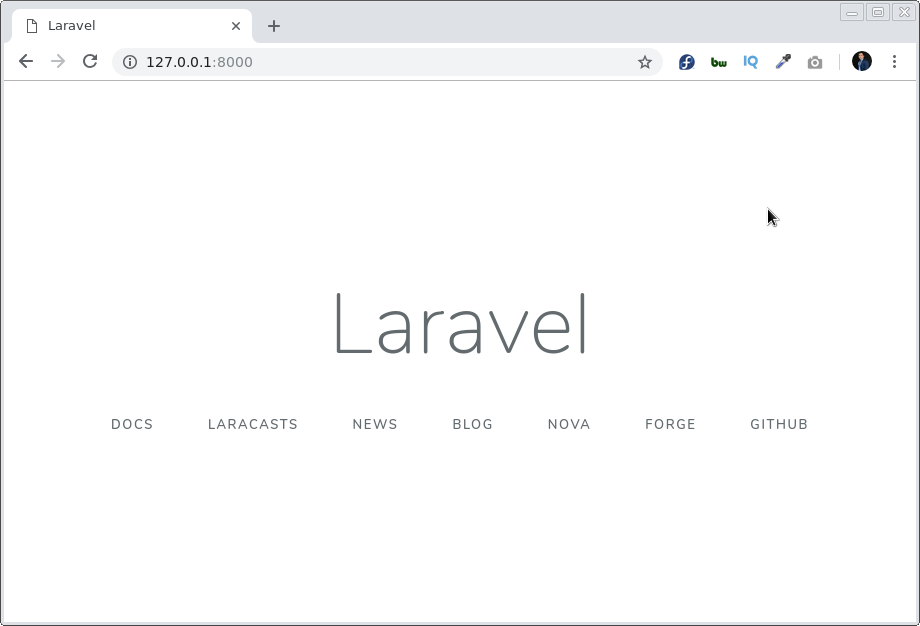
Para hacer correr una aplicación con el servidor que viene incluido en Laravel podemos hacerlo de manera fácil y rápida con:
cd blog
php artisan serve
En la terminal se mostrará:
Laravel development server started on http://127.0.0.1:8000/
Ya esta configurado todo lo necesario para iniciar a divertirnos, en el próximo artículo «Crear tu Primera Aplicación con Laravel» se detallará el desarrollo de una aplicación implementado el CRUD(crear, leer, actualizar, borrar).
Andres Martinez
noviembre 28, 2019Saludos,
Seguí las indicaciones y todo va en orden. Pero me queda una duda: si detengo el proceso Apache
sudo service apache2 stop
De todos modos mientras ejecute Laravel, la plataforma arranca (php artisan serve). Pero si trato de ver la página de inicio del navegador, por ejemplo http://localhost (sin puertos), entonces aparece error. ¿Qué significa esto? Me parece como si Laravel incorporara una versión de Apache en sí misma.
Agradezco sus comentarios, y gracias por el artículo
Manuel
marzo 30, 2020Amigo lo que sucede es que artisan crear un host privado para el proyecto no es apache ni nada por el estilo lo unico que necesitas es tener mysql y php artisan serve corriendo por eso no te funciona localhost sin puerto porque el puerto es donde esta el proyecto.
Jose
abril 22, 2020Amigo el titulo del articulo hace referencia a correr el proyecto laravel sobre el servidor apache, pero lo único que haces es correr el proyecto sobre el propio servidor de laravel, por lo demás muy buen tutorial.
Luis Peña
abril 5, 2022Hola:
Sí, he visto eso mismo en todos los tutoriales y videos que he leído y visto. Ningunos explican como hacer el empaquetado para que la aplicación corra sola sobre apache y PHP.
Saludos!
Luis Peña
abril 5, 2022Hola amigo:
Tienes algun tutorial en donde se crean varias tablas relacionales? Una base con varias tablas y algunas esten relacionadas, como en una factura, por ejemplo.
Saludos!